TellCaribou.com – Caribou Coffee Survey – Get Free Coupon Code

TellCaribou – You can receive a complimentary coupon that can be applied to your subsequent visits to Caribou Coffee by … Read more
TellCaribou – You can receive a complimentary coupon that can be applied to your subsequent visits to Caribou Coffee by … Read more

The McDVOICE survey, which may be viewed at www.mcdvoice.com, is open to all McDonald’s patrons. McDonald’s created this poll to … Read more
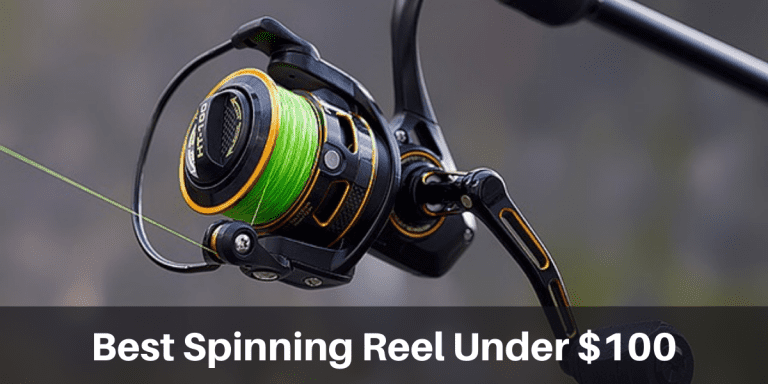
Thus, if you’re seeking a spinning reel that provides both quality and longevity, the best spinning reel under $100 is … Read more
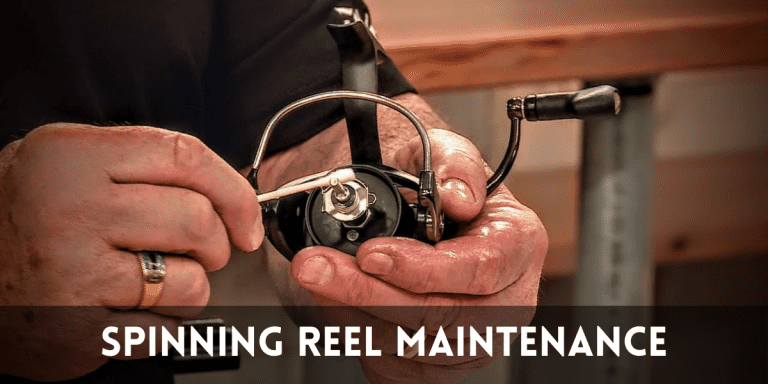
Spinning reel maintenance is vital to ensure your spinning reel performs appropriately. If you’re serious about fishing, you’ll want to … Read more
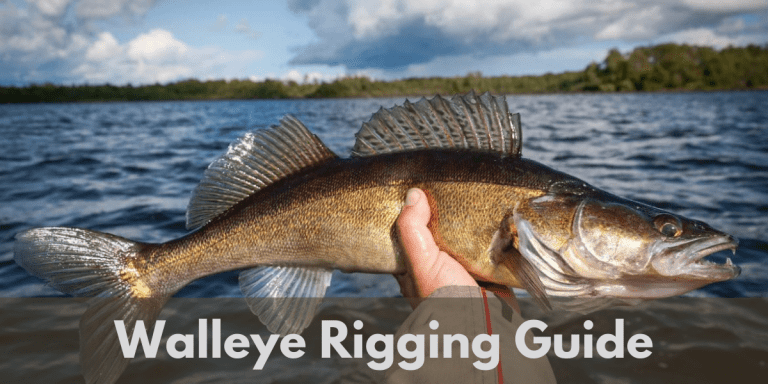
Walleye rigs are one of the most effective fishing gear available and can be used for trolling, casting, or stationary … Read more
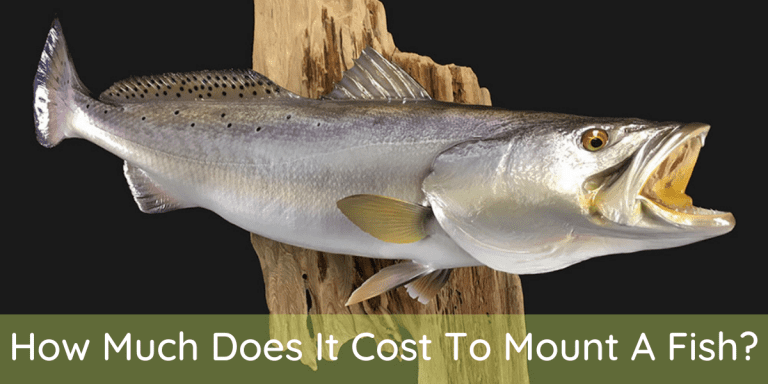
The cost of taxidermy fish skins varies not just by a taxidermist, but also by species and fish size. So, … Read more
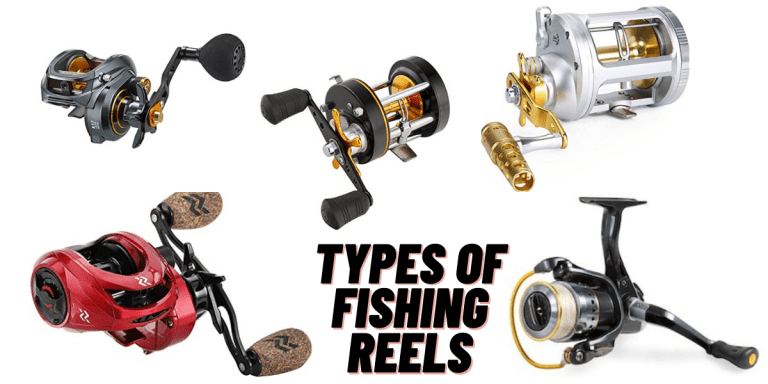
Understanding the distinctions between the many types of fishing reels can be challenging. spinning reels, baitcasting reels, and spin cast … Read more
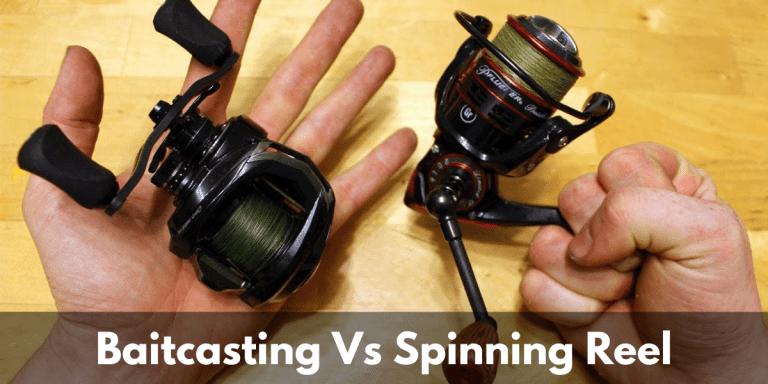
Although there are many kinds of fishing reels, spinning vs baitcasting reels are the two most popular forms. Depending on … Read more